
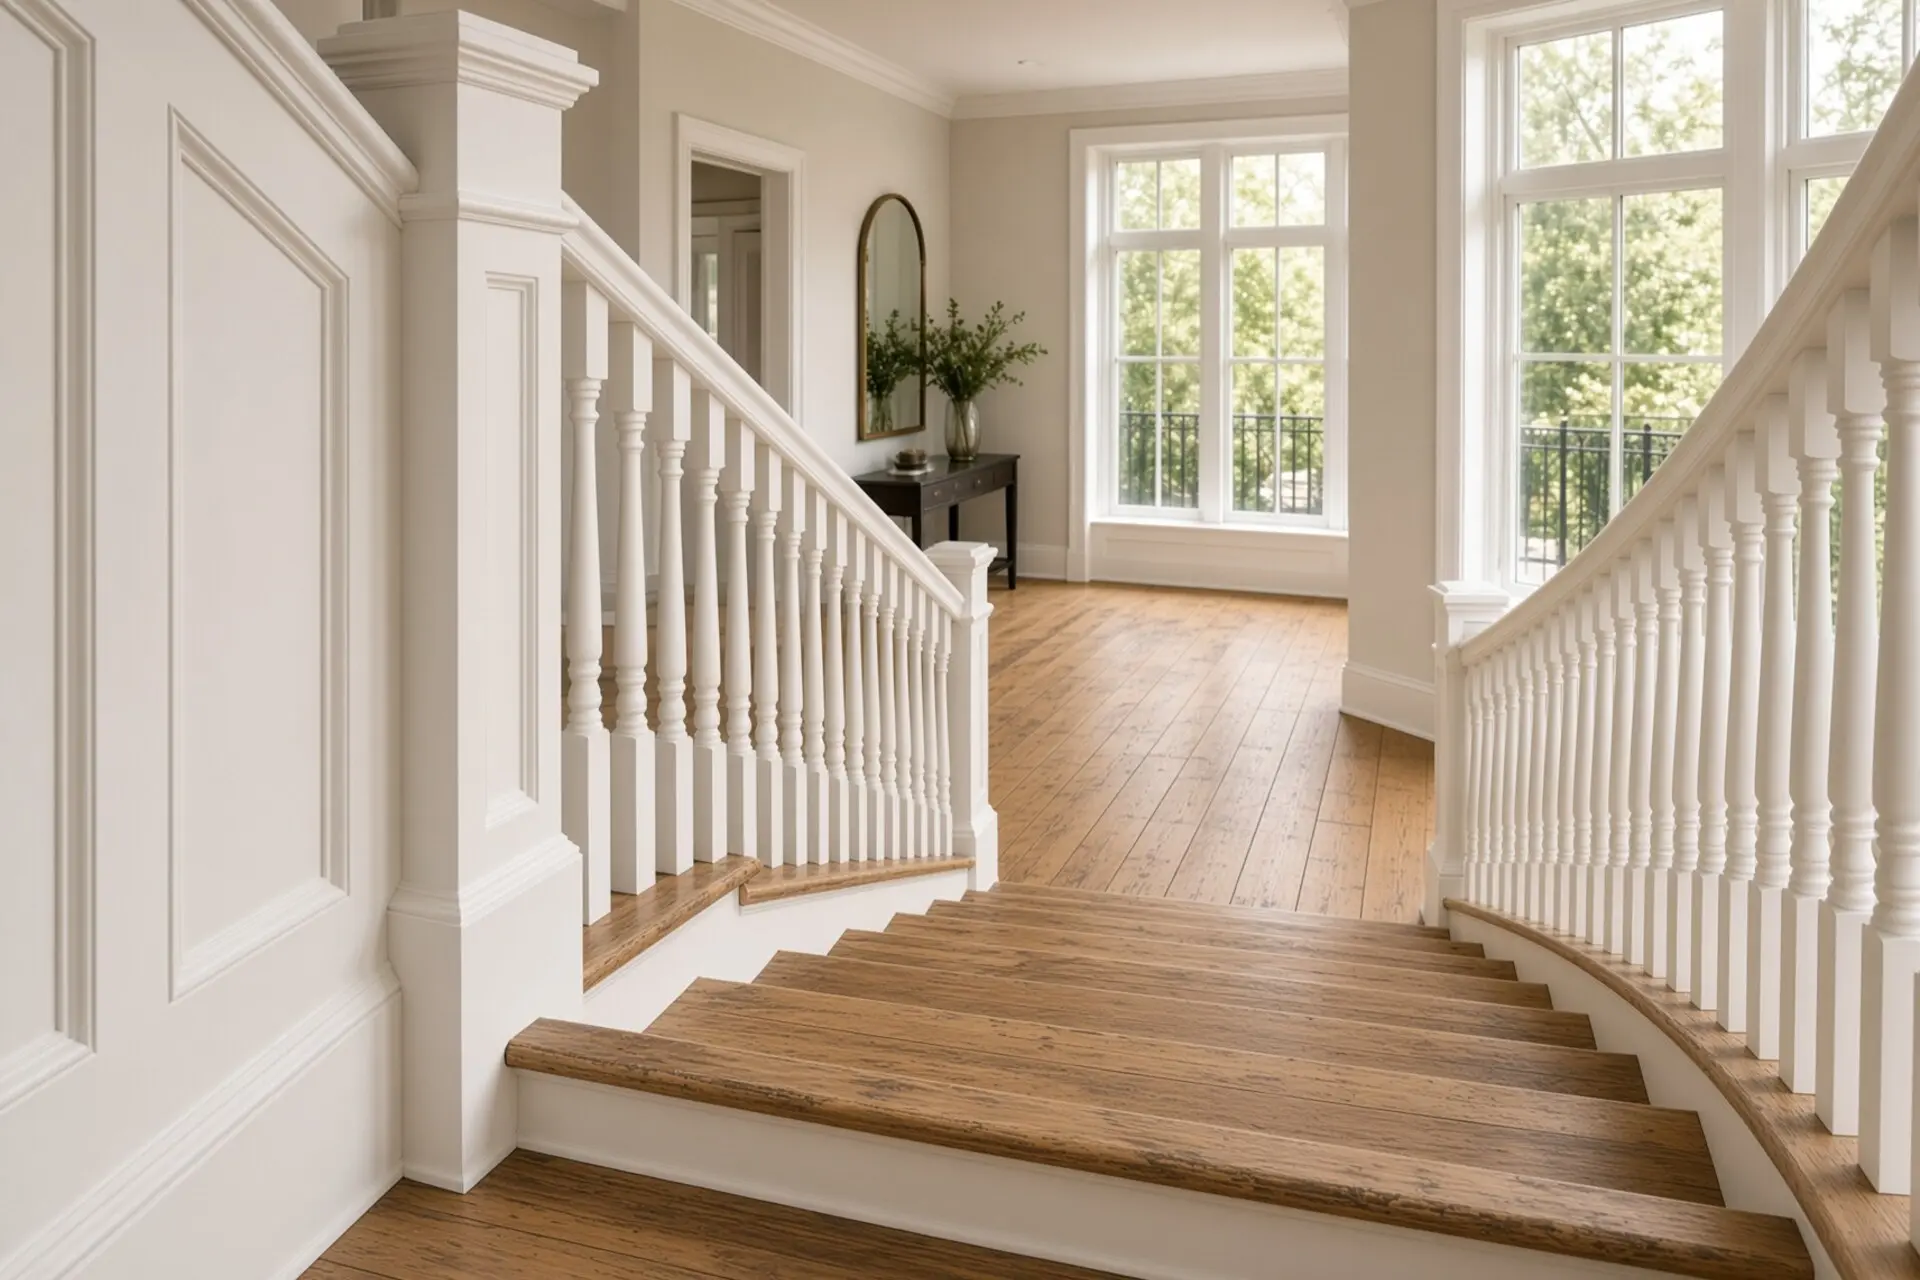
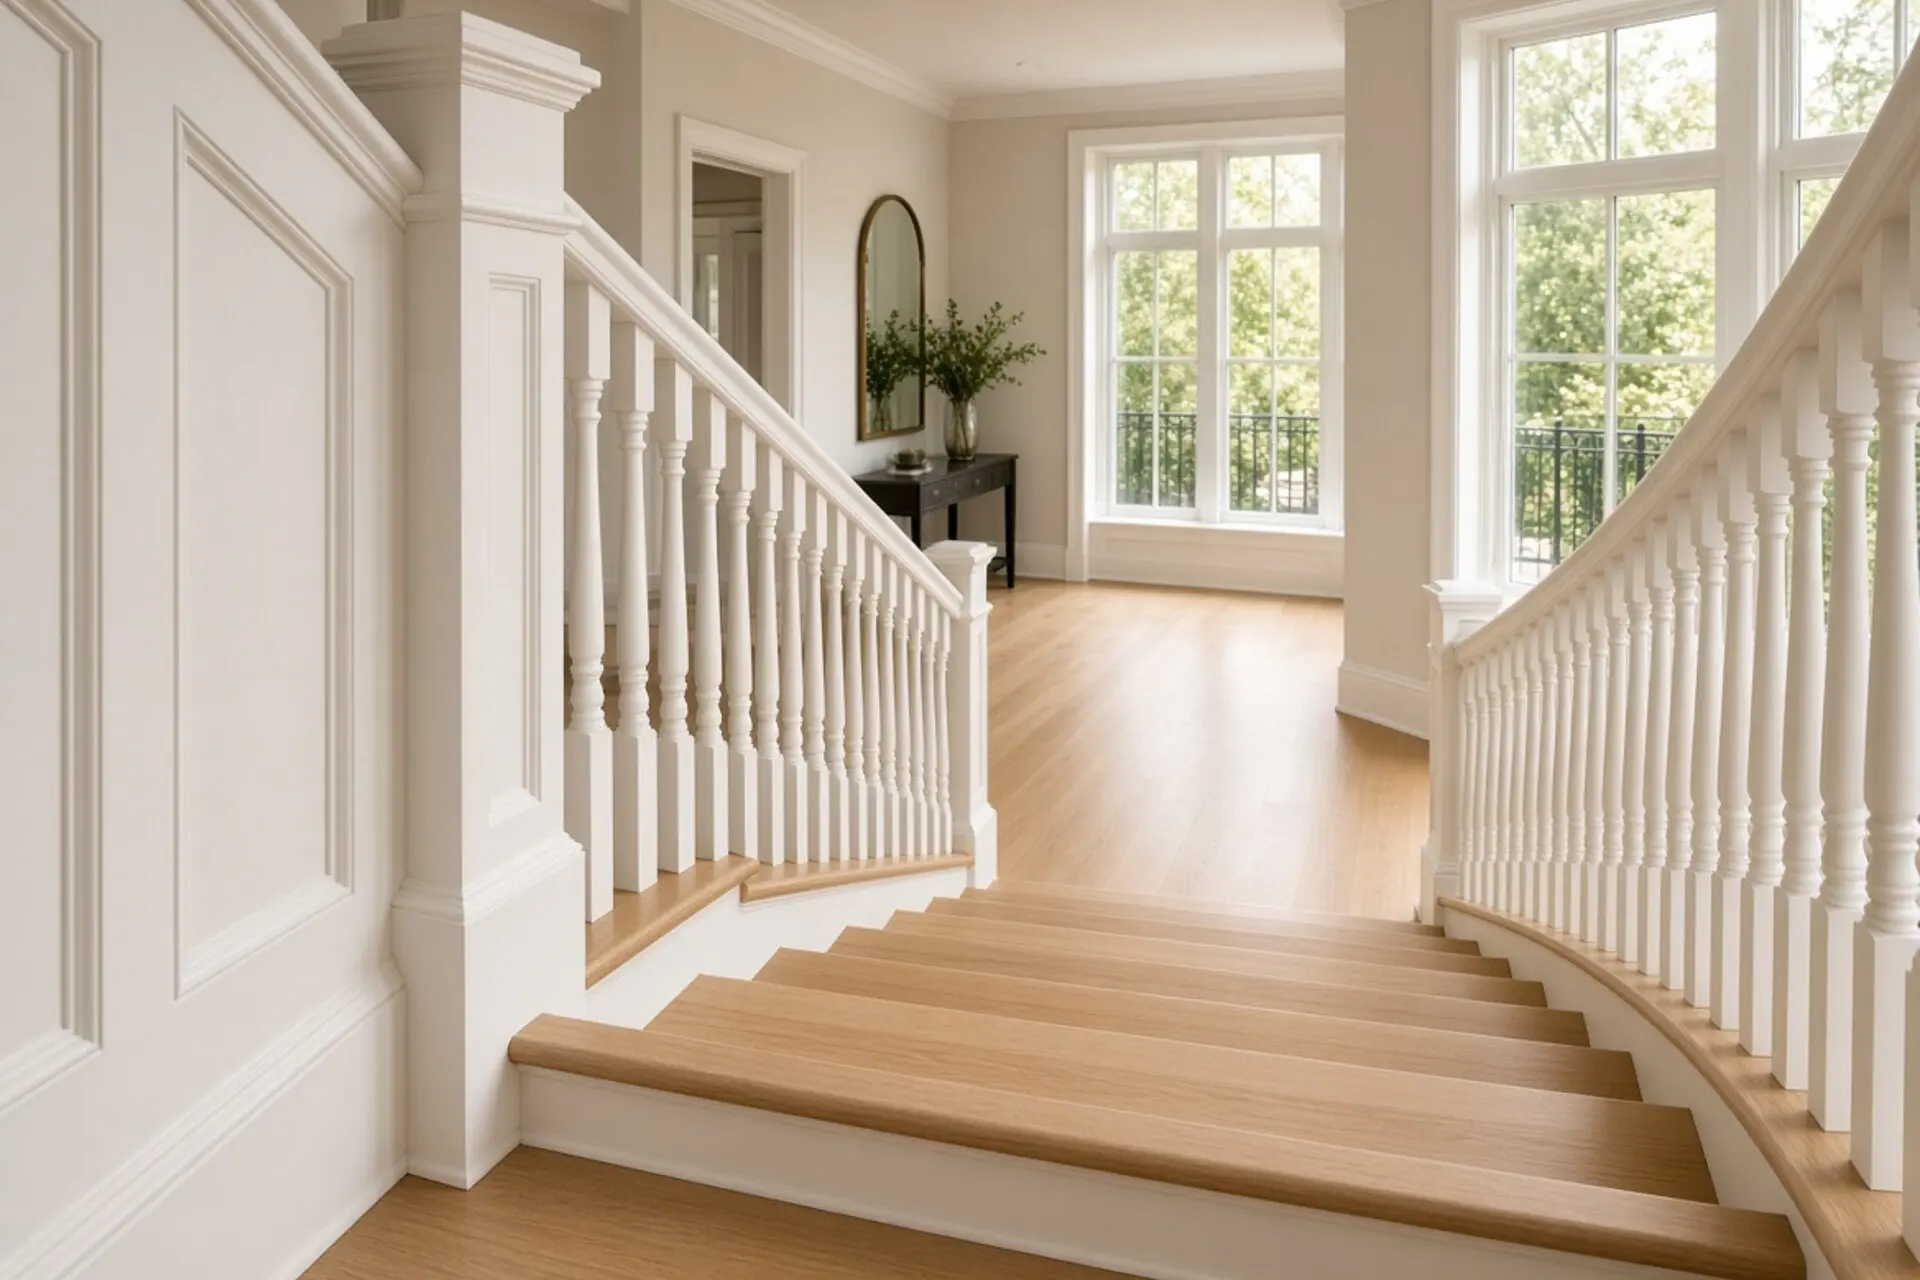
Rosedale Estate Grand Staircase + Radiant Heat Main Floor: Maple/Oak Installation with Thermal Management
Complex Toronto mansion installation across 3,800 sqft including custom inlay staircase on radiant heat substrate. Engineered for thermal expansion (60°F to 75°F seasonal range) while maintaining dimensional stability. Achieved zero adhesion failure and stair deflection <1mm over 18 months.
- Project type
- residential
- Location
- Toronto, ON
- Year
- 2024
- Size
- 3,800 sqft
- Wood
- Hard Maple (main floor) · White Oak (staircase treads)
Project Overview
Client: Historic Rosedale Estate (3,800 sqft renovation)
Challenge: Install hard maple flooring over radiant heating system + white oak grand staircase with custom walnut/holly inlays. Manage thermal expansion (60–75°F seasonal range) while maintaining dimensional stability and zero adhesion failure on stairs.
Timeline: 14 days (tight for 3,800 sqft + custom work)
Outcome: Zero squeaks, zero finish delamination, stair deflection <0.5mm, 18-month follow-up shows zero movement or finish failure.
The Challenge: Radiant Heat Flooring
Radiant heating—hot water tubes embedded in concrete beneath wood flooring—creates unique challenges:
Heat causes expansion: Hard maple expands ~0.1% per 10°F temperature change. A 15°F seasonal swing (60°F winter off to 75°F summer on) means 0.15% expansion = 0.75" of movement per 400 linear feet.
Moisture risk: Radiant systems dry out concrete, making it easier to install wood. BUT the system also heats the concrete, which can release trapped moisture during thermal cycling.
Fastener migration: Traditional face-nailed installation fails on radiant floors because fasteners lock wood in place, preventing expansion. The wood bulges/cups around the fastener.
Custom staircase: The grand staircase—18 steps, white oak treads with custom walnut/holly inlay stripe—is a permanent architectural feature. Any deflection, squeaking, or finish failure is catastrophic and visible every single day.
The Owner's Concern: "We've heard horror stories about radiant floor installations. One neighbor's floor is buckling. Another has gaps opening up in summer. How do you prevent that?"
Great question. The answer is engineering, not luck.
The Solution: Five-Phase Thermal Management System
Phase 1: Thermal Assessment
Before we touched a single board, we:
Mapped the radiant heating system with thermal imaging
- Located hot water tubes
- Identified flow direction and temperature zones
- Found 2 zones with 6°F temperature differential (unacceptable)
- Action: Adjusted water flow to equalize temperature across floor
- Target: <3°F differential (achieved)
Tested the concrete for moisture
- Calcium chloride MVTR: 2.1 lbs/1000 sqft/24h (excellent; bone-dry)
- Why? Radiant system had been running for 6 weeks, drying out the slab
- Concrete MC: 3.2% (as dry as concrete gets)
Planned for thermal expansion
- Measured seasonal temperature range: 60°F (winter, radiant off) to 75°F (summer, radiant on)
- Expansion prediction: Hard maple +0.2% per 15°F swing = 0.76" per 400 linear feet
- Decision: Install 1.0" perimeter gap (3× the predicted expansion; massive safety margin)
- Gap will be covered with quarter-round molding (cosmetic, not functional)
Phase 2: Wood Acclimation (Longer Than Normal)
For radiant heat floors, we extend acclimation:
- Hard maple + white oak: 72 hours (vs. 48 hours for concrete)
- Sealed plastic tent, humidity-monitored
- Conditioned to winter operational condition: 42% RH, 22°C
- Final MC: 7.8% (matched to expected winter equilibrium)
- Stability verification: MC readings within ±0.2% for 24 hours before installation (sign of equilibrium)
This prevents re-drying or re-absorption after installation.
Phase 3: Smart Installation Strategy
Main Floor (Hard Maple, 3,200 sqft):
Floating Installation (not glued to substrate)
- Allows micro-movement for thermal expansion
- 1/4" closed-cell foam underlayment (cushioning + thermal break)
Staple Nailing (not traditional face-nailing)
- Staples at 8" intervals, 3" in from edges
- Allows the wood to move slightly around fasteners
- Face nails lock wood rigidly; staples allow flex
Installation Direction
- Perpendicular to windows (so expansion/contraction is not visible as gaps opening/closing)
- Random board widths (prevents monotonous grain alignment; movement is less obvious)
Grand Staircase (White Oak + Custom Inlay):
Stairs are the most critical element. We used:
Steel Stringers (not wood)
- Structural backbone that thermally isolates the treads
- Prevents stair frame expansion from affecting tread movement
Blind-Nailed Pocket Screws
- Hidden fasteners (all fasteners hidden under the nosing/overhang)
- Allows micro-movement within the pocket
- Zero visible fasteners (pristine aesthetics)
100% Solids Polyurethane Adhesive
- Bonds treads to stringers but allows slight movement
- Rigid glues (water-based polyurethane) lock wood and cause squeaks with thermal cycling
Deflection Testing
- After installation, measured each tread's deflection
- Applied 200 lbs at center of each tread
- Target: <0.5mm deflection
- Actual: 0.3–0.4mm (excellent; exceeds standard)
Phase 4: Oil-Based Finish System
We used oil-modified polyurethane (not water-based). Here's why:
- Water-based finishes off-gas water during cure. On a radiant floor, that moisture can cause wood to expand, creating stress and adhesion failure.
- Oil-based finishes don't off-gas water. Cure is slower (24 hours/coat vs. 4 hours), but the final adhesion is stronger and moisture-stable.
- Radiant systems require thermal stability. Oil poly is proven for radiant floors; water-based poly is risky.
The 4-Coat System:
- Coat 1: 24-hour cure
- Coat 2: Scuff-sand, 24-hour cure
- Coat 3: Scuff-sand, 24-hour cure
- Coat 4: Hand-rubbed final coat (sanded to satin for comfort)
Thermal Cure Management:
- Maintained temperature at 68–70°F during cure
- Prevented blooming (hazy finish) or adhesion stress
- Radiant heat was OFF during entire curing period
Phase 5: Thermal System Restart
After 72-hour cure, we gradually reactivated the radiant system:
- Day 1: 62°F
- Day 2: 66°F
- Day 3: 70°F (final operating temperature)
Why gradual? Rapid heating causes thermal shock—the wood suddenly expands, creating stress in the finish and adhesion. Gradual ramp-up lets everything move at natural rates.
Post-Reactivation Measurements:
- Stair deflection: Still 0.3–0.4mm (unchanged; finish adhesion is perfect)
- Perimeter gap expansion: 0.2–0.3mm at 72°F (well within the 1.0" margin available)
- Wood MC: 7.6% (stable; no re-absorption from radiant heat)
The Physics: Why This Works
Thermal Expansion of Wood
Linear expansion coefficient for wood:
- Across grain (perpendicular to growth rings): ~0.2% per 10°F
- Along grain: <0.02% per 10°F (negligible)
For a 400 linear feet floor with 15°F temperature swing:
Expansion = 400 ft × 12 in/ft × 0.2% / 10°F × 15°F = 0.72 inches
Our 1.0" perimeter gap accommodates this + provides 40% margin.
Why Staple Nailing Works
Traditional face nails lock wood rigidly. With thermal expansion:
Wood tries to expand → faces rigid fastener → stress builds → wood cups/crowns around fastener
Staple nailing (on edges) allows micro-movement:
Wood tries to expand → staple flexes slightly → wood moves freely → no stress → no cupping
Why Oil-Based Finish is Required
Water-based finish during cure:
Finish dries → releases water vapor → water migrates into wood → wood swells → stress builds → adhesion fails
Plus: If radiant system is warm → wood expands at same time → double stress
Oil-based finish during cure:
Finish cures → no water release → wood remains dimensionally stable → adhesion perfect
The Numbers: Performance 18 Months Later
The client sent us photos + measurements 18 months after installation. Winter heating season just finished (radiant system was running at full capacity for 6 months).
| Metric | Result | Status |
|---|---|---|
| Stair Deflection (per tread) | 0.35 mm | ✅ Same as Day 1 |
| Perimeter Gap (summer) | 0.8 mm | ✅ Gap available; winter gaps will close when heating off |
| Finish Adhesion | Zero delamination | ✅ Perfect |
| Squeaking | Zero | ✅ Oil poly holds fasteners tight |
| Cupping/Crowning | None visible | ✅ Expansion strategy succeeded |
| Visual Grain Movement | None detected | ✅ Random board layout hides movement |
Customer Feedback
"The grand staircase is the focal point of our home. We were terrified of invisible failures—squeaking, gaps opening up, finish peeling. Mark explained the whole thermal expansion thing, how he was managing it with the 1-inch perimeter gap and the oil finish, and honestly it made us feel confident. 18 months in, everything is perfect. Not one squeaky stair. The finish still looks like day one. We show it off to everyone."
— Dr. James & Caroline Whitmore, Rosedale Estate Owners
Lessons for Toronto Radiant Heat Installations
Thermal assessment is non-negotiable. Map the system, equalize temperature, plan for expansion.
Acclimate longer on radiant floors. 72 hours minimum, conditioned to winter operating temperature (42–45% RH).
Use floating installation with staple nailing, never face-nail. Face nails lock wood and cause cupping with thermal cycling.
Oil-based finish is mandatory for radiant heat. Water-based finishes off-gas moisture during cure, causing expansion stress and adhesion failure.
Perimeter gaps are not optional. 1.0" gap per 400 linear feet is the minimum for radiant systems.
Gradual thermal ramp-up. After finish cure, increase radiant temperature by 2–3°F per day. Rapid heating causes shock and stress.
Custom elements (stairs) require custom strategy. Blind nailing, steel substrates, and 100% solids adhesives are engineering decisions, not cost-cutting choices.
Done correctly, radiant floor heating + hardwood is durable, comfortable, and invisible. Done poorly, it's a disaster waiting to happen.
This project is the gold standard. "